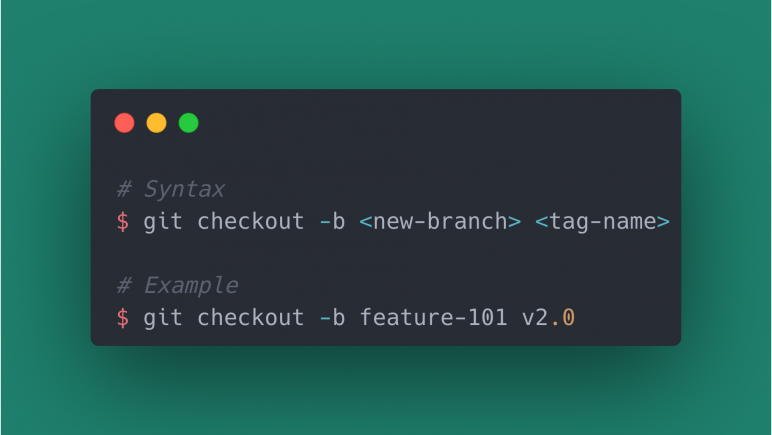
A new GIT branch can be created from a tag through the “git checkout” command with the “-b” option followed by a new branch name and tag name.
$ git checkout -b <new-branch> <tag-name>
Why Create Git Branch from a Tag
GIT tags are created to mark a specific point in git history and then deployed. But sometimes you might want to debug the deployed code and the best way is to create a new GIT branch from that tag.
How to Create Git Branch from a Tag
Let’s say you have deployed tag v2.0 on production and now you have some issues after the deployment.
Now creating a debug branch from the tag v2.0 will be the best way to make sure you have the exact code which is deployed on production.
Now let's go through each step one by one to create a new branch from the correct tag.
1. Get the tag
Make sure you fetch all the tags from your remote repository with the "git fetch" command
$ git fetch --all --tags
2. Confirm the tag
Now confirm that you have fetched the required tag v2.0 from which you want to create the branch.
$ git tag -l

v2.0
v1.0
3. Create a new branch from the tag
After confirming that tag v2.0 fetch properly, we can now run the "git checkout" command to create the new branch from that tag.
$ git checkout -b debug-tag-2-0 v2.0
Now we have a new branch "debug-tag-2-0" ready for debugging on local.
Conclusion
In this tutorial, we learned why we might need to create a new git branch from a tag for debugging and how this can be achieved with the "git checkout" command.
Comments
Hello novicedev.com webmaster, Well done!